
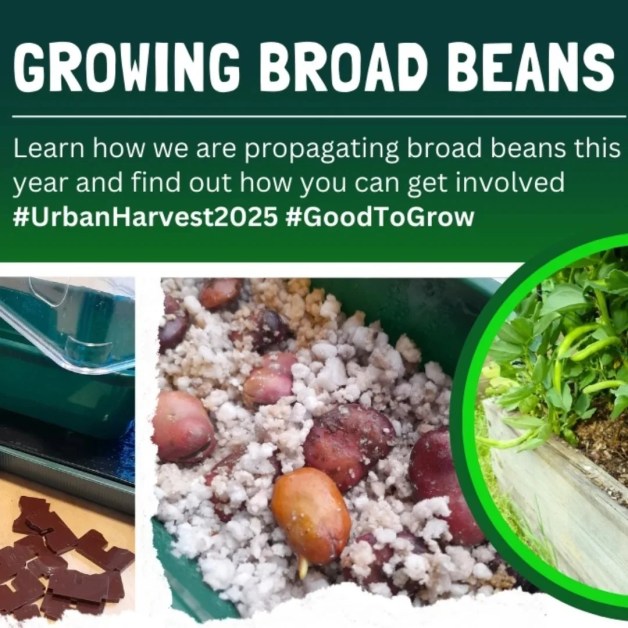
- Germinating Broad Beans indoors
- How to get involved
- An ideal Garden Club Activity
- Propagating Seeds Indoors
- Reclaimed Acrylic subfloor
- S.T.E.A.M Project
- Our Instructable
- How to germinate Broad Beans
- The Goldilocks Zone
- You will need
- Steps
Germinating Broad Beans indoors
Broad Beans are easy to grow, can be planted out early in the season or overwinter. Produce a good crop and being legumes fix nitrogen in the soil for future crops. That’s a quadruple win in our book!
How to get involved
If you’d like to help us get a head start on our planting this year, we have a number of small windowsill propagators available. These are only £3 each (at cost price but you are welcome to donate more) and can be purchased from MOP on Saturdays or Wednesday. If you’d like to get involved send us an email and let us know when you’d like to collect one.
An ideal Garden Club Activity
This project is ideal for a Community Garden, School Eco or Gardening Club or a Scout Group. Making use of reclaimed materials, providing a very useable and accessible method of propagating seeds for potting up. If children have access to a sunny window sill at home a large number of seedlings can be germinated in a small space.

Growing in this way helps teach about irrigation, capillary action and the need to maintain the required moisture content in the planting medium. Too much water and seeds can rot or seedlings dampen off, too little water and they will fail to germinate.
It’s a good idea to sow a succession of seeds and varieties, if for any reason a sowing fails there will be more seeds on the way! If a number of students each grow a few seeds at home it really helps to manage a lot of growing potential!
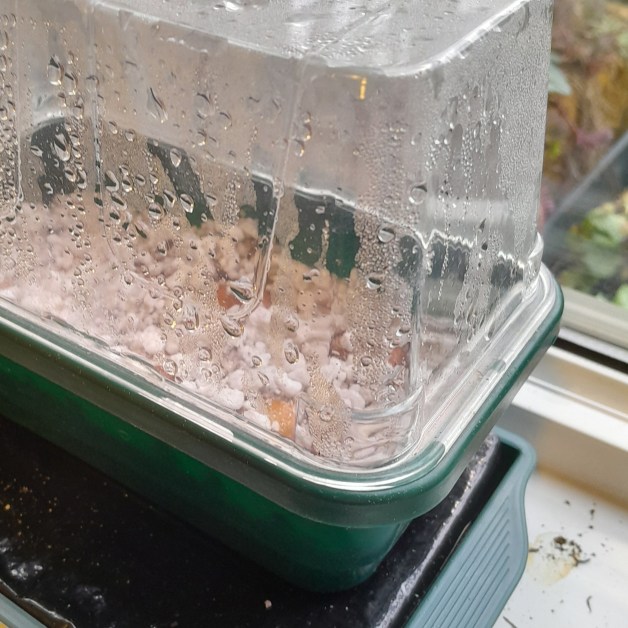
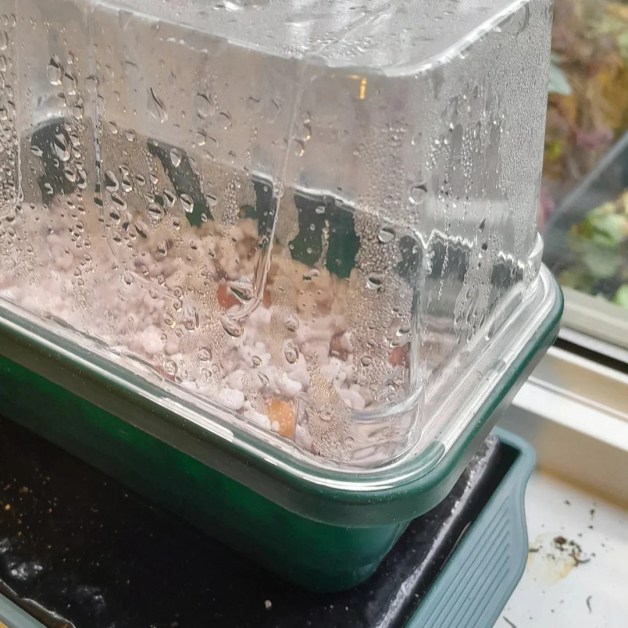
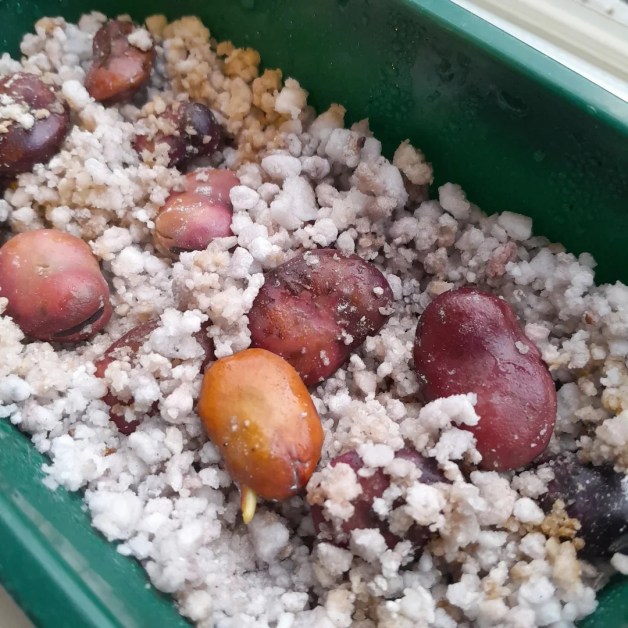
In the images below, broad beans are germinating in dampened perlite.

Propagating Seeds Indoors
Sowing seeds indoors, under cover helps to extend the planting season. In the early spring the soil is still cold and wet. Most seedlings need to be protected from frost and then hardened off outside prior to planting out.
Starting plants undercover helps extend the growing season, it’s also great for eager gardeners who want to start seeing some green shoots and signs of life and can’t wait for the weather to warm up!
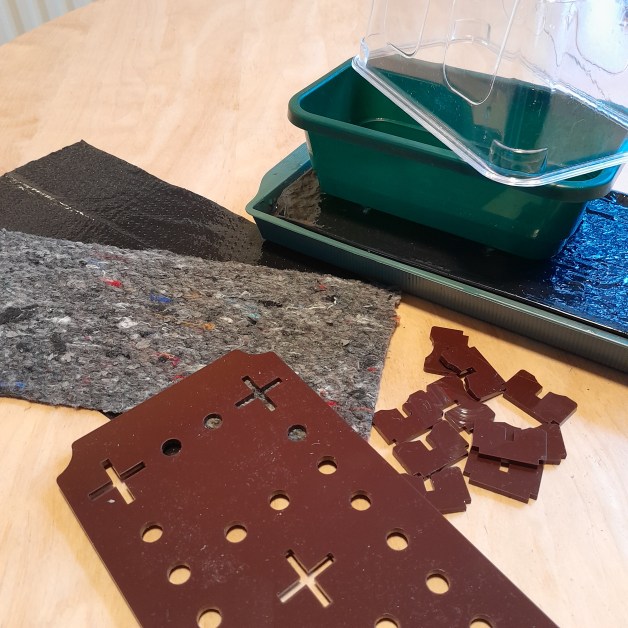
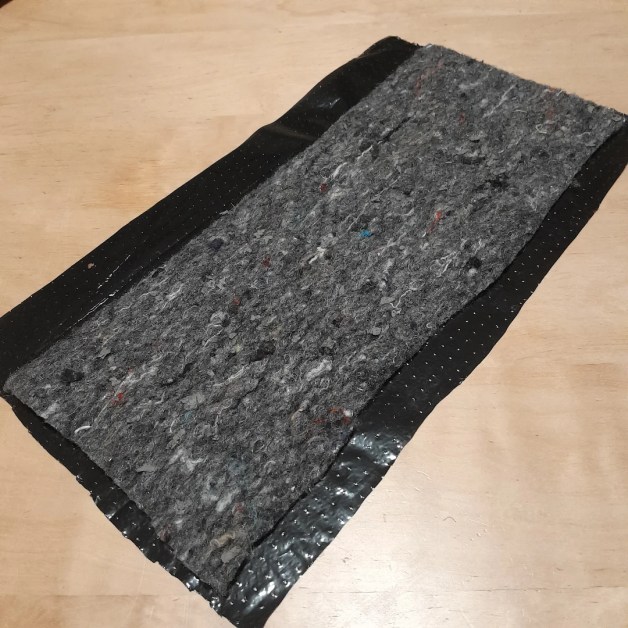
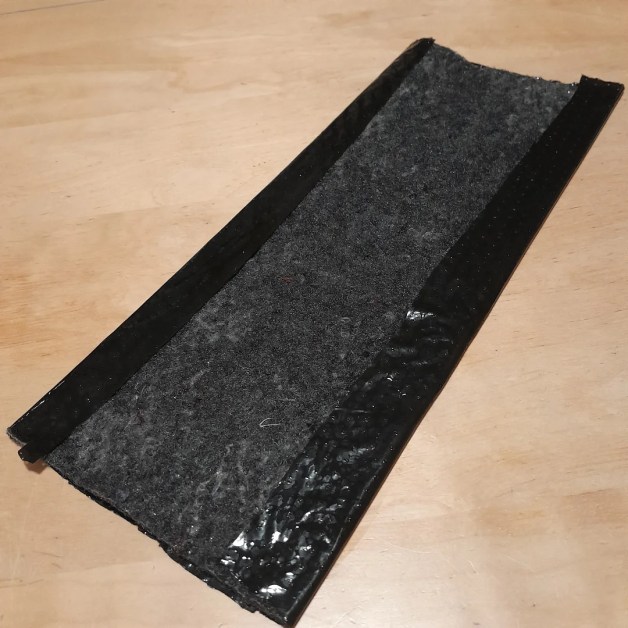
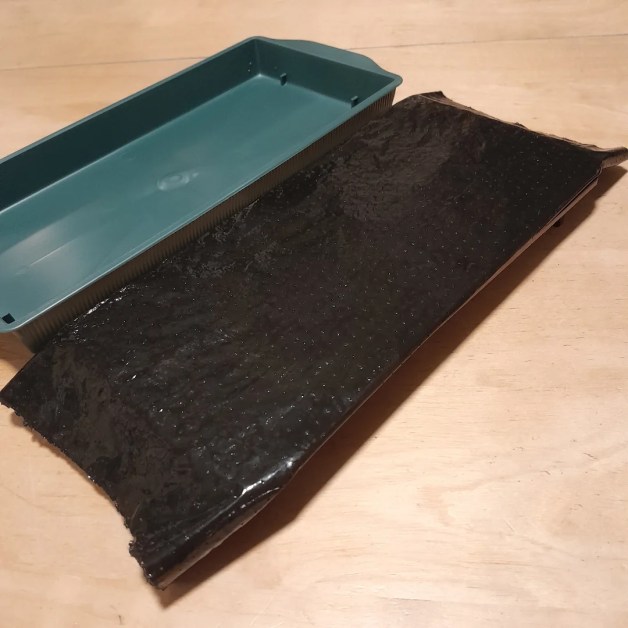
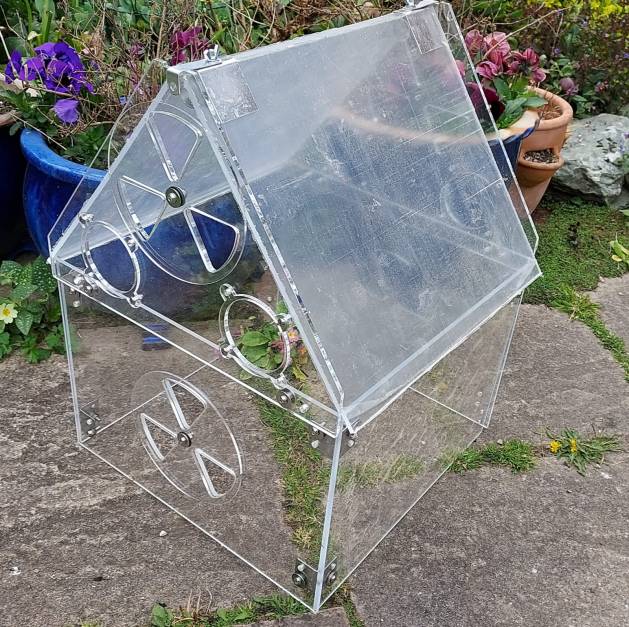
The propagator is a Garland Super Seven module. These are good value, long lasting and a convenient size. The tray underneath the propagator is a floristry tray designed for oasis flower arranging bricks. Alternatively you can cut down a PET platic waterbottle or a HDPE Milk bottle.
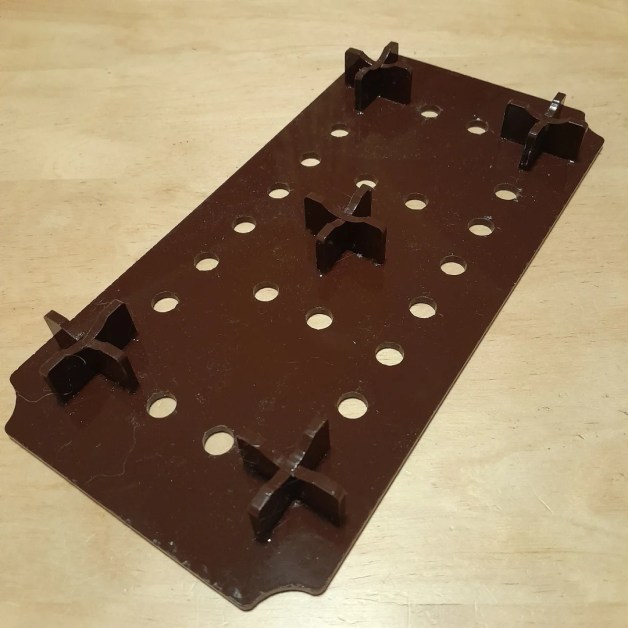
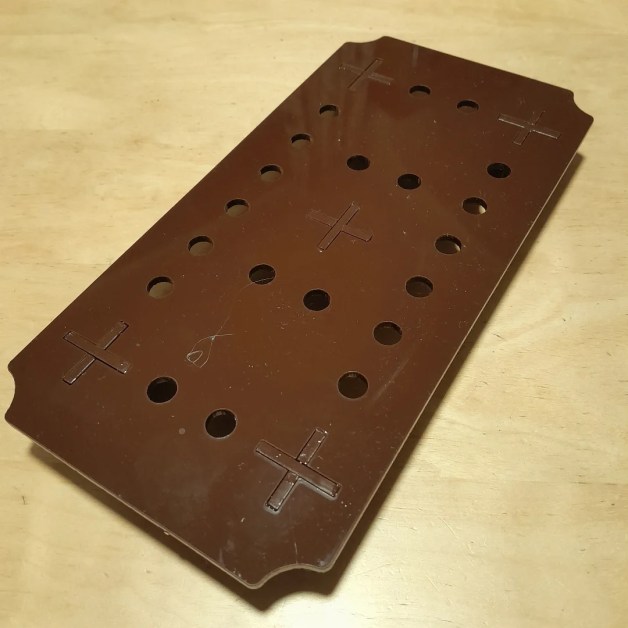
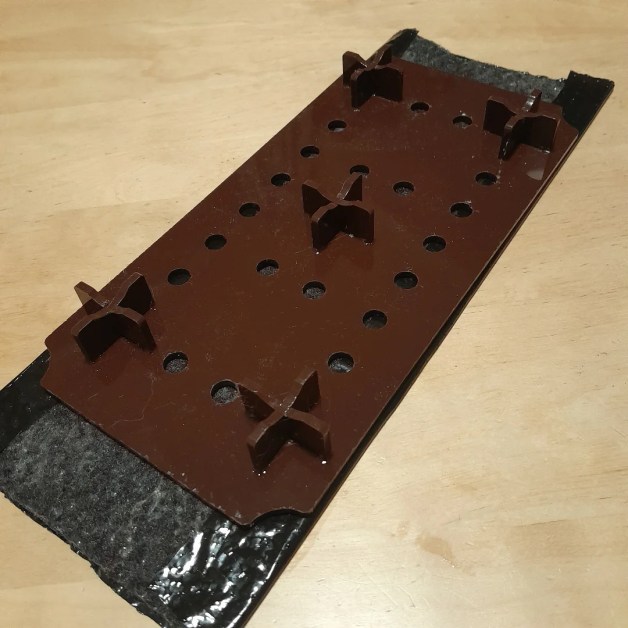
Reclaimed Acrylic subfloor
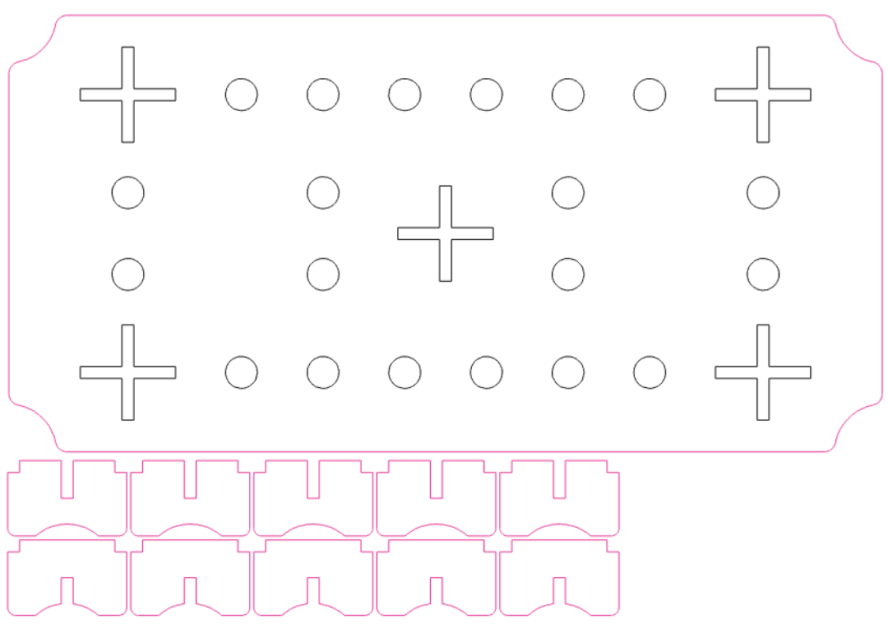
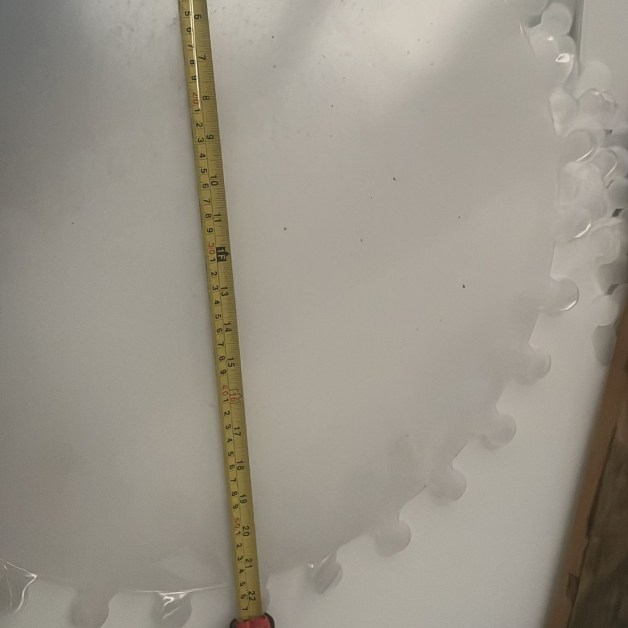
The brown plastic part serves as a subfloor so that the tray can be topped up with water to work as an irrigation reservoir. This part has been lasercut from the above svg file. 3mm Acrylic is used, our example was made from the waste bin of a local laser cutter who specialise in point of sale and signage. Using this material saves it from being exported to Italy in a large steel container for recycling, at great cost and also a considerable carbon footprint.


S.T.E.A.M Project
Steam refers to Science, Technology, Engineering, Art and Mathematics. This project can really encompass so many of these areas. Growing in a controlled environment such as a small propagator really encourages experimentation. What happens if you place the propagator in a warm environment or in a darkened space, what if you use tap water or rain water? Because this only take up a small space, try one outdoors in a greenhouse or one indoors in an airing cupboard which is best. If it works you’ll have some sturdy healthy plants, if it doesn’t work what do you think went wrong, what could you change next time?
If a group of families are all growing seeds in the same kind of setup it’s also a great idea to share your results. Who’s grew the best, who’s germinated first, what was different, how did the plants grow, who had the most crop or yield? Did you pre soak the seeds first? Can you think of any other variables which might have had an impact?
Our Instructable
We’ve created a short instructable with some instructions if you would like to make one of these little capillary irrigation trays. The instructions can be downloaded using the link below, along with the svg file if you would like to lasercut the parts.
How to germinate Broad Beans
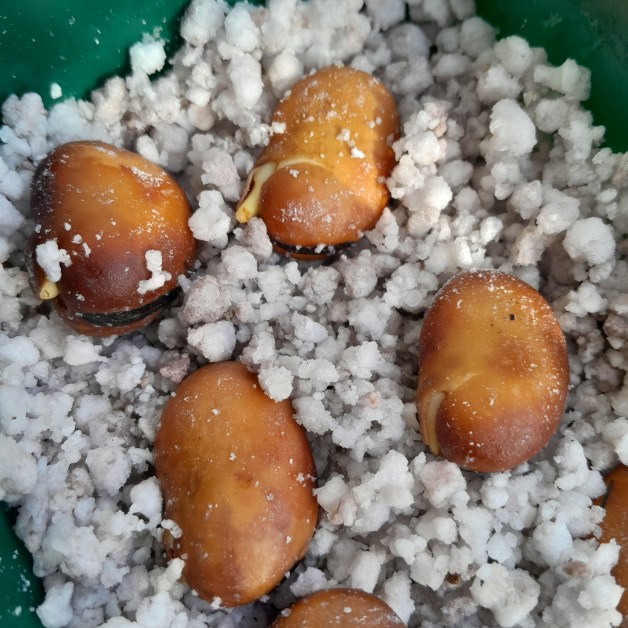
Germinating broad beans in perlite, vermiculite or paper towel are effective methods, although perlite doesn’t retain moisture as well as vermiculite, it provides excellent drainage and aeration, which is ideal for preventing seed rot and promoting strong root development.
The Goldilocks Zone
When sowing and growing, often seeds and plants require moisture and drainage too. Moist, free draining soil sounds a bit of a riddle. Ideally the substrate should feel neither wet, nor dry but somewhere in between!
You will need
- Broad bean seeds
- Perlite, vermiculite or paper towel
- A shallow container or seed tray
- Watering can or spray bottle
- Plastic cover or plastic wrap (optional)
- A warm, bright location (but not direct sunlight)
Steps
- Prepare the container:
Choose a shallow container or seed tray with drainage holes. Fill it with perlite to a depth of about 5 cm. You can mix perlite with a bit of water to moisten it lightly. It should be damp, but not soggy, to provide moisture without promoting rot. - Soak the seeds (optional but recommended):
Soak your broad bean seeds in warm water for 12-24 hours before planting. This will soften the seed coat and can help speed up germination. - Plant the seeds:
After soaking, gently press the broad bean seeds into the moist perlite and cover with perlite. Space them about 2.5 cm apart. You can adjust the spacing based on the size of your container and how many seeds you want to germinate. - Water gently:
After planting, water the perlite gently to moisten it around the seeds. A spray bottle or a watering can with a fine nozzle works well to prevent disturbing the seeds. The perlite should remain damp but not waterlogged. - Cover the container (optional):
To maintain humidity and encourage faster germination, you can cover the container with plastic wrap or a plastic lid. This will help keep the moisture in. Make sure the cover allows some airflow to prevent mold growth. - Provide warmth and light:
Place the container in a warm location, ideally around 18-21°C. Broad beans germinate best in this temperature range. While they don’t need direct sunlight at this point, they should still have access to bright, indirect light. - Monitor and maintain moisture:
Check the moisture levels of the perlite regularly. If the perlite starts to dry out, gently water it again with a spray bottle to avoid over-wetting. Keep the perlite slightly moist at all times, but ensure it doesn’t stay too soggy. - Germination time:
Broad beans usually take 7-10 days to germinate, though this can vary depending on the temperature and moisture. Keep an eye on the seeds, and once you see them sprouting, reduce the humidity cover to avoid mold. - Potting on:
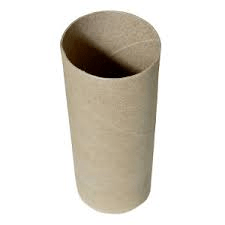
There are no nutrients germinating in Perlite or on Paper towel. When the seedlings start to develop their first set of true leaves, you can carefully remove them from the propagator and plant them into their own pots or cardboard toilet roll tube. Plant approximately 5mm deep into a multipurpose compost. - Planting out:
If you’re planning to transplant the seedlings to your garden or larger pots, harden them off by gradually exposing them to outdoor conditions. This helps them adjust to the change in environment. Once they’re ready, transplant them into your garden.
Perlite offers excellent drainage and aeration, which makes it a great medium for seed germination, as it prevents waterlogging and root rot. The key is keeping it moist without overwatering. Let me know if you have any other questions about broad bean germination or care!

You must be logged in to post a comment.