- Plant Propagation
- How to Propagate Mint from Cuttings in Water: A Step-by-Step Guide
- Why Propagate Mint in Water?
- What You’ll Need
- Step-by-Step Instructions
- Aftercare
- Bonus: Endless Mint, Forever

Plant Propagation
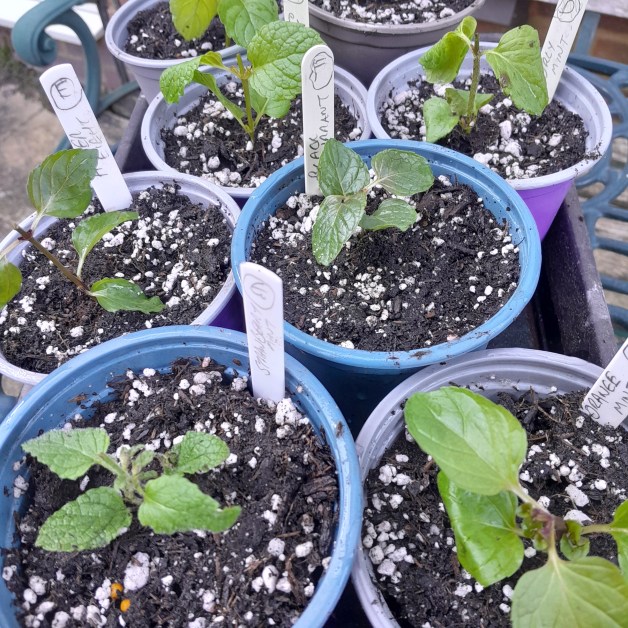
At Meadow Orchard we are rather partial to a mint tea when we’re taking a break from working in the garden. This year we’re propagating some beautiful varieties.


How to Propagate Mint from Cuttings in Water: A Step-by-Step Guide
If you’ve ever grown mint, you know how fast it spreads—and how refreshing it is to have on hand for teas, or garnishing salads and adding to dishes. Did you know that propagating mint is super easy? All you need is a healthy stem, a glass of water, and a sunny windowsill.
Whether you’re looking to expand your herb garden or share your mint with other gardeners, here’s how to grow new mint plants from stem cuttings in water.
Why Propagate Mint in Water?
Mint is one of the easiest herbs to propagate. Water propagation is not only simple, but it’s also a great way to watch roots develop, which makes it fun (especially if you’re new to plant propagaing). Plus, it’s mess-free and doesn’t take up much space – perfect for growing indoors.
What You’ll Need
- A healthy mint plant (any variety—peppermint, spearmint, chocolate mint, etc.)
- Clean scissors or a sharp knife
- A clear container glass or jar (so you can see the roots develop)
- Fresh water
- A sunny windowsill or bright spot indoors
Step-by-Step Instructions
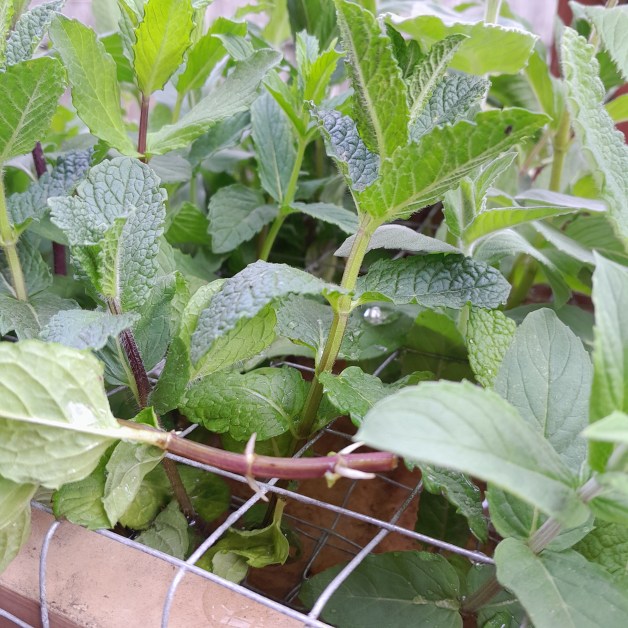
Choose the Right Cutting
Look for a healthy, non-flowering stem that’s about 10 – 15cm long (4 – 6 inches). Make your cut just below a leaf node (the little bump where leaves grow from the stem). This is where the roots will form.
Remove Lower Leaves
Gently strip off the leaves from the bottom half of the cutting, leaving a few pairs of leaves at the top. You want to make sure that the leaves don’t sit in the water as they can rot and cloud the water.
Place in Water
Pop the stem into your glass or jar of water. Make sure the leaf nodes that were stripped are fully submerged, but keep the remaining leaves dry above the waterline.
Find a Sunny Spot
Place your jar in a bright, indirect sunlight spot. A windowsill works great. Direct sun can be too intense and might overheat and stress the cuttings.
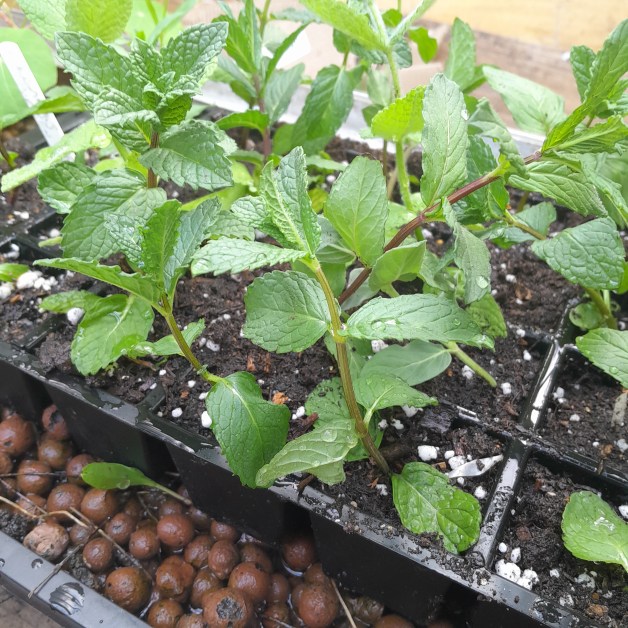
Change the Water Regularly
To keep things fresh and prevent rot, change the water after a few days. You’ll start to see tiny roots within about a week!
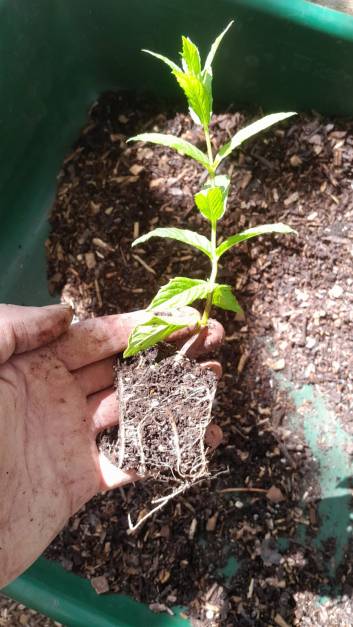
Wait for Strong Roots
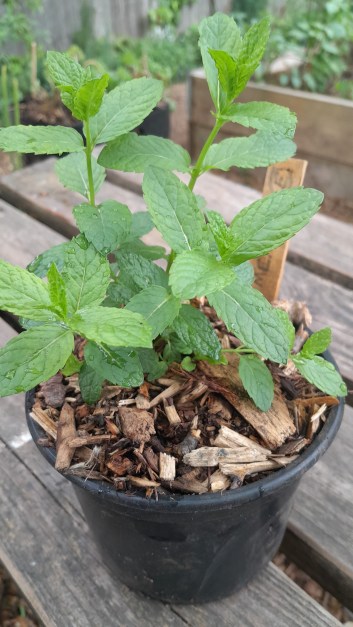
Once the roots are at least 2.5 – 2 cm long (1–2 inches) – usually after 10–14 days, your cutting is ready to plant into compost. You can pot it indoors or plant it outside if the weather is warm enough.
- When transplanting into soil, keep the plant moist (but not soggy) for the first week or two.
- Pinch off the growing tips now and then to encourage bushier growth.
- Mint loves sun but can handle partial shade too. Just make sure it gets at least a few hours of light daily.
Aftercare
Bonus: Endless Mint, Forever
The best part? Once your new mint plant is established, you can repeat the process again and again. A single plant can turn into a whole mint forest if you let it!
Ready to try it? Grab some mint, a glass of water, and let nature do the rest. Happy propagating—and may your tea always be fresh and minty!

You must be logged in to post a comment.